|
Written/Phtography by Albert V
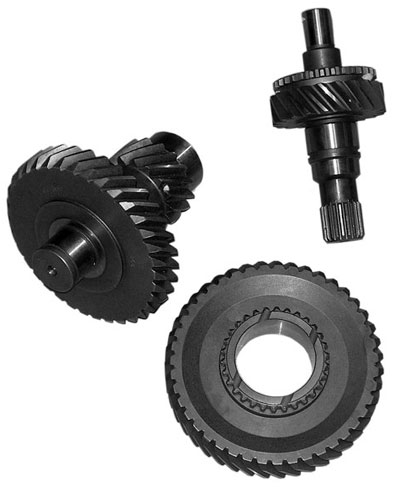 The stock Toyota transfer case has a 2.28:1 low range. The Toyota Trail Tamer gear sets from Advance Adapters come in 4.0:1. 4.7:1 and 5.0:1, which help make up for the small engines in Toyotas by providing lower gearing for crawling down your favorite trail. The Toy t-case is a fully gear-driven unit with the high range and low range in separate sections of the case. The Trail Tamer gears only change out the reduction gears while leaving the high range 1:1 gears stock. The kit comes with three replacement gears, bearings and gaskets. The installation of the gears requires a full tear down of the case and takes 6 to 8 hours to complete.
In the course of wheeling our Toyota 4Runner this past summer, it became very apparent that it needed some gearing help. Adding the 4.88 gears in the diffs compensated nicely for the bigger 33-inch tires to keep our speedometer almost perfectly in sync, but wasn’t enough to help the off road ability of the Toy. When I dropped it into the 2.28:1 low range, I had to check and see if it was actually LOW range – after all, I am used to a Jeep with a 135:1 crawl ratio!
The stock Toyota t-case low range gears (2.28:1) coupled to our refitted 4.88:1 differential gears and the stock 5-speed’s 3.96:1 first gear had yielded a crawl ratio improvement from 37:1 to 44:1. But all the advantages of this lower ratio were negated by the larger tire size. The speed over tough terrain was virtually the same as before, and our problem was the lack of control on up hill climbs and steep descents.
Even though we noticed it right away and promptly ordered the gears, it took a few months to find the time to pull the t-case apart. In the interim, we ran the Rubicon, Oregon Sand Dunes, our Apex event and the Detroit Locker trail tour! It wasn’t until our mid summer run to Colorado that we finally installed the Advance Adapter Trail Tamer low-range gears in the t-case. Yes, I kicked myself in the butt for not doing it much sooner.
The Trail Tamer gears from Advance Adapters come in 4.0:1, 4.7:1 and 5.0:1. Here is the kicker – they are only $395 US! Add this to the fact you can easily put two t-cases into a Toyota (using one full case and a gear reduction box from another) makes it one of the most flexible t-cases on the market. And, considering that it is fully gear-driven, you can put quite a bit of power through the t-case with little worry.
Of the three options, we chose the 4.7:1 gear set. After all, with price not being an issue (they are all the same price), it is really your preference that will dictate your choice. We knew that eventually there would be a set of 35s under the Toyota so we went with the gear set we thought would work best long term. When adding the 4.7:1 gear set we dropped our crawl ratio (with 4.88 gears) to 90:1! That’s double what we had before for only $395 US!
Though at first I was intimidated by the thought of pulling a full t-case apart, the instructions were excellent and with a few precautionary steps on our part, rather simple to do. After you read this article and read through the Advance instructions I think you will find it easy enough for anyone with good mechanical skills to do on their own. The 4.0:1 gear set should install with no grinding required to the case. However, if you choose the 4.7:1 or 5.0:1 gears, you will need a die grinder (or the services of a machine shop) to clearance the inside of the t-case to fit.
Why stop there? In the next issue we double the cases up with the new Advance Adapters Toyota case half (pre clearanced for those higher gear sets).
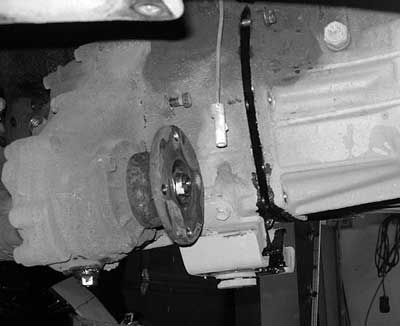
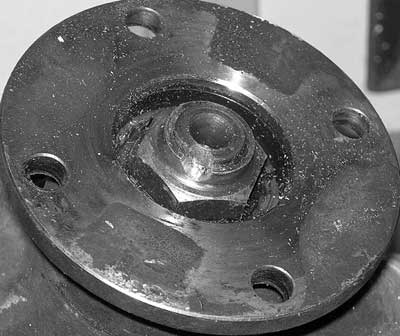
The nut that holds the rear drive shaft flange on is pinched onto the output shaft. This will need to be ground out before it is removed (and the new supplied nut pinched again on assembly). Make sure you do not damage the end of the shaft while grinding.
With the nut off, the flange slides off the output shaft. The bolts holding the tail housing can now be undone and the tail shaft housing removed.
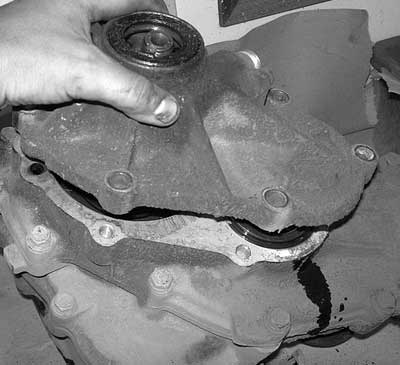
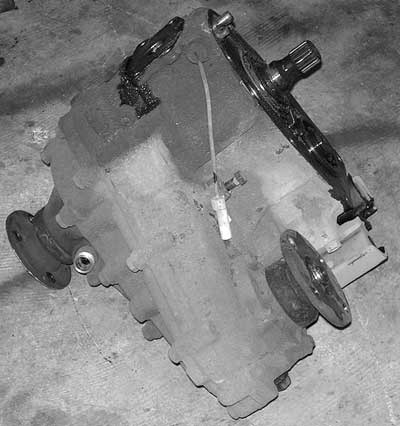
First up is getting the t-case out of the vehicle. Both front and rear drive shafts will need to be disconnected. There is a grease splatter shield around the front driveshaft, which will need to be removed (optional to reinstall). The transmission will need to be supported while the t-case cross member is removed and remain supported while the t-case is modified. The case can then be unbolted and split from the back of the tranny.
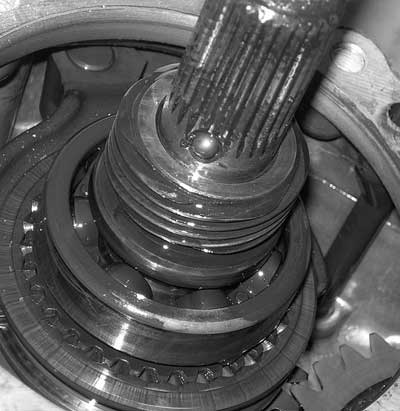
With the tail housing removed there are several small parts including the oil pump and speedometer gear on the rear output shaft that need to be removed. Note the small ball bearing on the shaft. There are several of these on the shafts throughout the case. Take care in noting where they were and keep them safe for reinstallation. The output bearing can be removed now too.
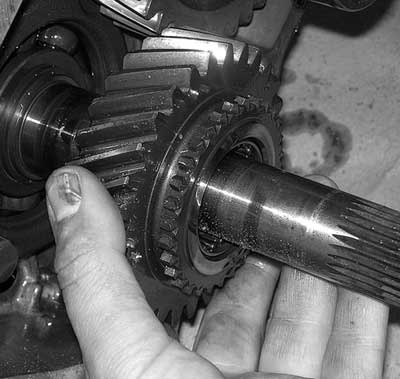
With the shift fork removed the front wheel drive gear and its caged needle bearing can be removed. Under the gear there is a spacer with another of those ball bearings on the shaft.
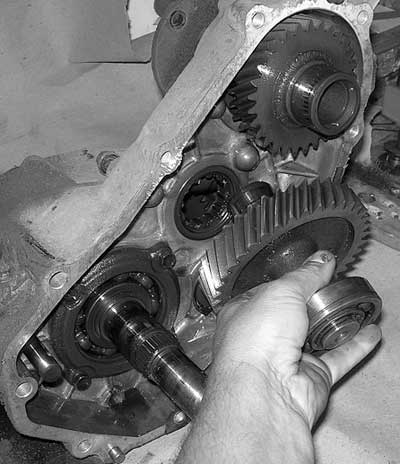
Once the rear shaft is stripped down, the centre gear cluster can be removed. All of the gears in the back portion of the case will be reused, so keep them clean.
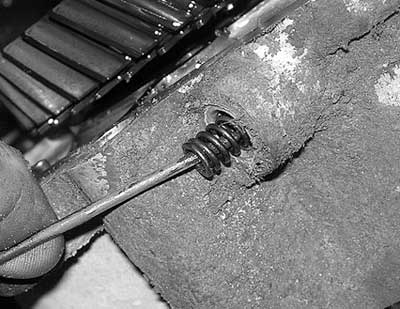
The shifter detents are found in the side of the case. An Allen screw is removed and there is a spring and ball bearing inside the hole. Remove them and clean then up for re-use.
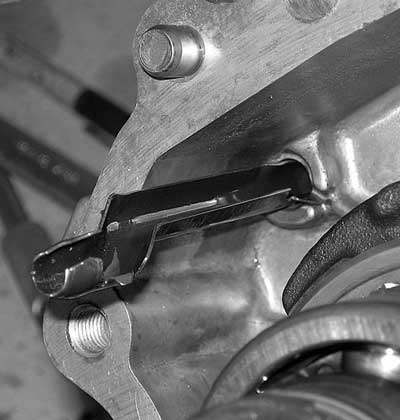
There are two small oiling tubes in the back portion of the case, make sure they are removed and kept safe.
Before the front wheel drive shift fork can be removed a punch will need to be used to remove the roll pin securing the fork to the shift rail.
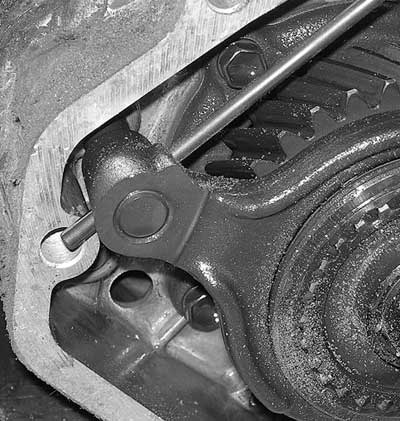
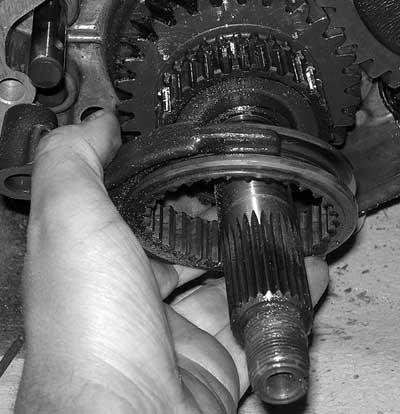
With the roll pin removed the front wheel drive shift fork and collar can be slid off the shaft.
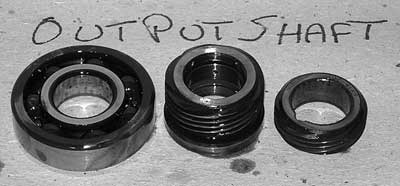
Do you ever get a bit confused when putting your projects back together? We use some brown Kraft paper on the bench, write on it in black felt and line the parts up. Taking a few pictures along the way helps too.
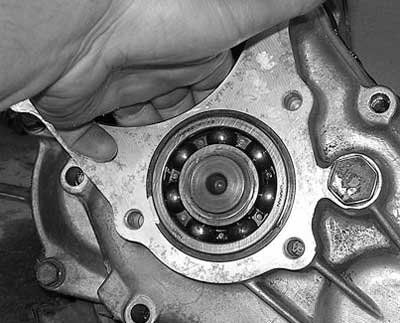
Before the rear portion of the case is removed you will need to remove the clip holding the outer bearing in place. If the ring is difficult to remove, reach your hand inside and push the bearing out slightly. The same procedure will need to be used to reinstall the clip on the bearing when the case is complete.
The ten bolts that hold the rear case cover to the main case can now be removed and the rear case cover removed.
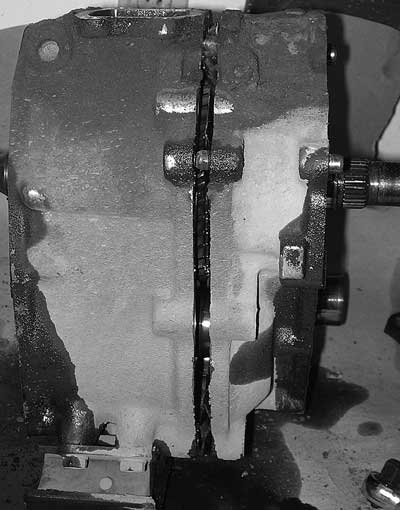
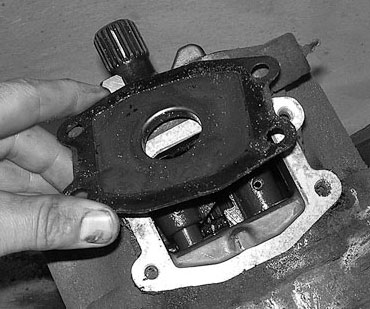
Depending on the shifter location on your case there may be a blank on the top of the t-case or the shifter may be directly mounted on top. Under this cover, on some cases the roll pins holding the shifter rails in will need to be removed. The exceptions are the ‘79-’83 cases and the ‘85-’88 fuel injected models. Don’t worry if the pin falls into the case – it can be retrieved later
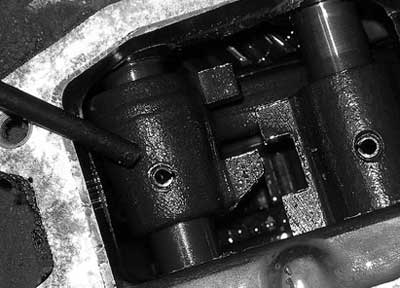
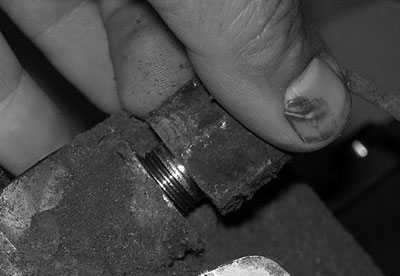
Remove the four-wheel drive indicator switch from the side of the case.
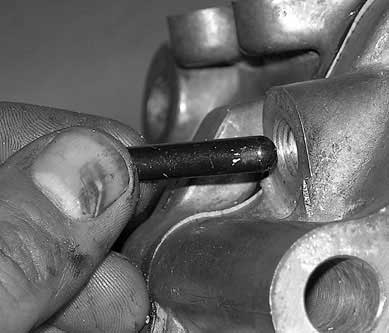
Retrieve the interlock pin from the shift rail detent hole.
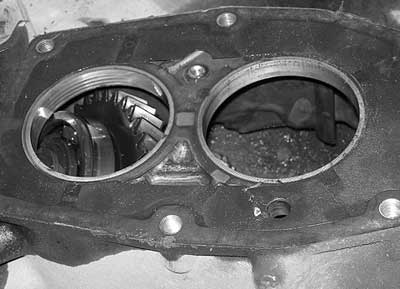
There are four bolts holding the front case to the reduction case. Split the two cases and you will see the three gears that you will be replacing with the Trail Tamer gear set.
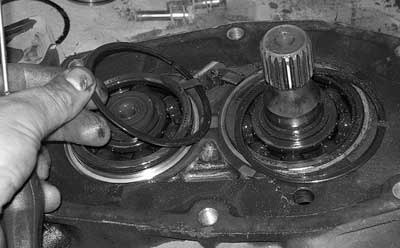
Next up is the disassembly and removal of the other two gears in the reduction box. Both gears are held in the case with spring clips. There is also a clip, which holds the bearings from walking out of the case. With the clips removed the gears should drop out of the case.
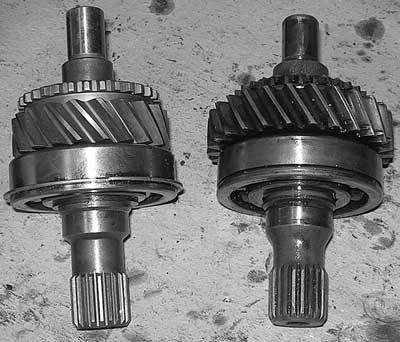
On the left is the new Trail Tamer centre gear with the bearing installed (supplied with the kit). Notice its smaller diameter. This makes room for the new larger reduction gear.
Time for some clearancing!
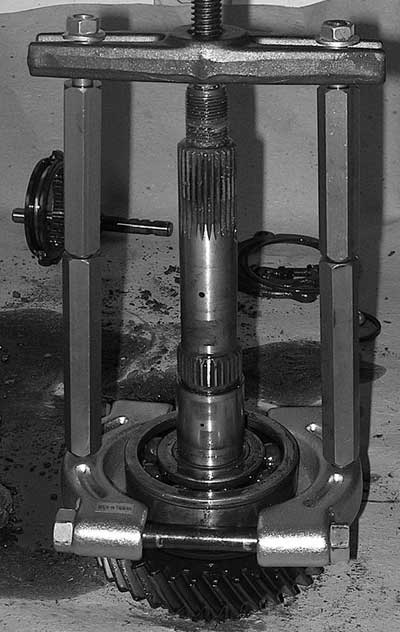
We needed to use a gear puller to remove the bearing from the shaft.
Once the bearing is off the shaft the stock gear can be removed. Oh, and another of those little ball bearings too. Clean all the parts and reassemble with the new Trail Tamer gear. The shaft can then be reinstalled back into the case half.
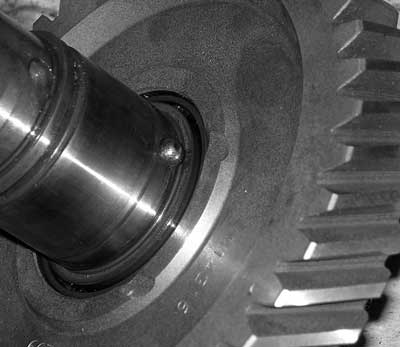
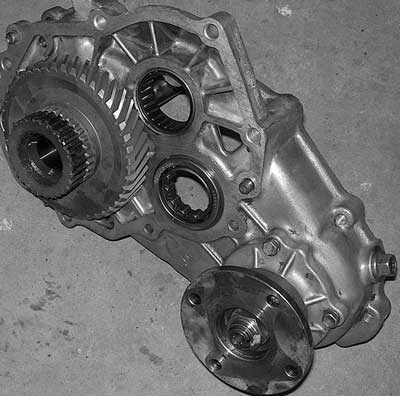
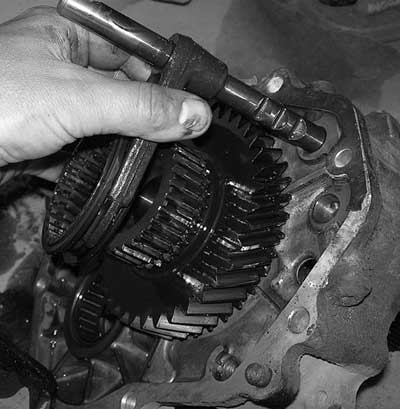
The new gears replace the three gears in the gear reduction half of the case. To access the gear on the rear output shaft the shift collar needs to be removed.
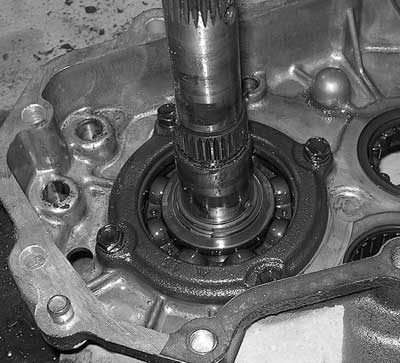
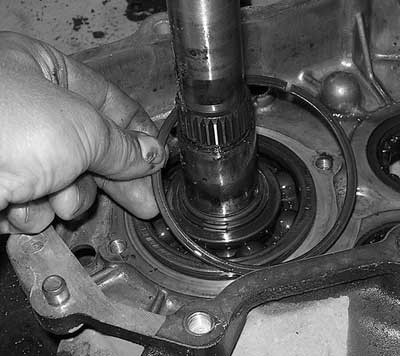
To replace the gear with the Trail Tamer gear, the shaft will need to be removed from the case. There is a four-bolt bearing retainer and under the retainer is a spring clip. With these removed the shaft will slide out of the case.

Throughout the rebuild process we use thick oil like this cam lubricant. Oil used for engine building would also be perfect. You don’t want to start your case up dry. It also makes it easier to install the bearings on the gears.
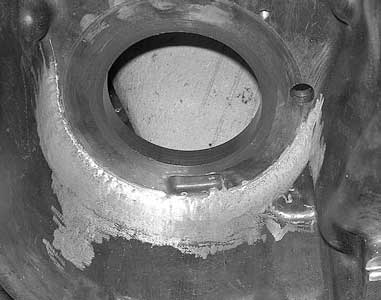
The gear set you purchase will dictate how much grinding you need to do inside the case. Advance Adapters suggests machining the inside of the case but a die grinder can be used, which is what we did. It took at bit of time and we needed to insert the gear a few times to make sure nothing was rubbing. There can be no contact between the gears and the case or the case may get damaged, so take your time.
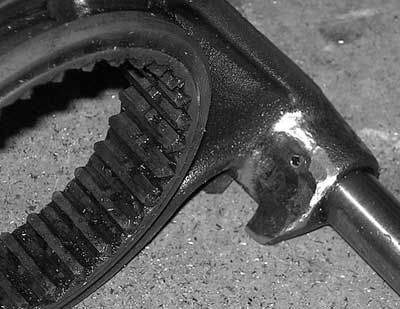
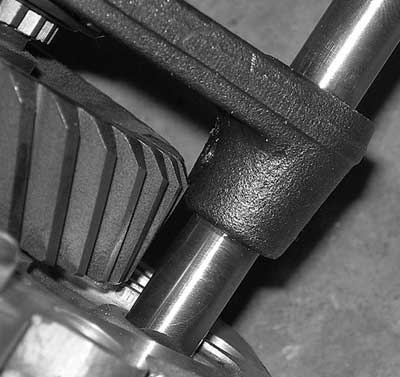
This shows the area where the shift fork casting will need to be ground to clear the new gear. Test fit the shaft a few times and make sure there is no contact with the gear. After this – reverse the disassembly order and you are read to crawl down the trail!
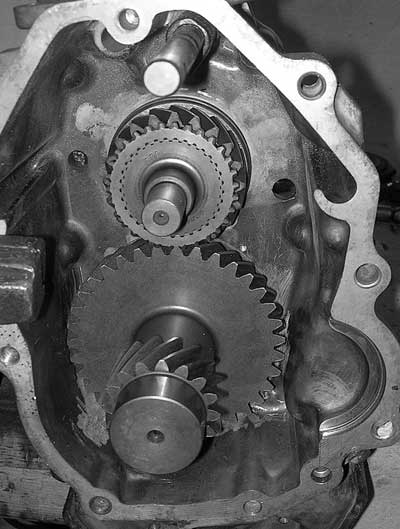
With the case properly clearanced, the gears can be permanently installed into the case. The spring clips will be reused, as will the bearing clip pictured at centre below.
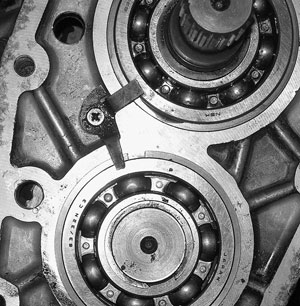
Before reassembly the low-range shift fork may need to be altered to clear the new larger gear. The output shaft needs to turn freely with the shift fork in all positions.
4x4 Suppliers
Advance Adapters
4320 Aerotech Center Way
Paso Robles,
California 93446
www.advanceadapters.com
805-238-7000
|
