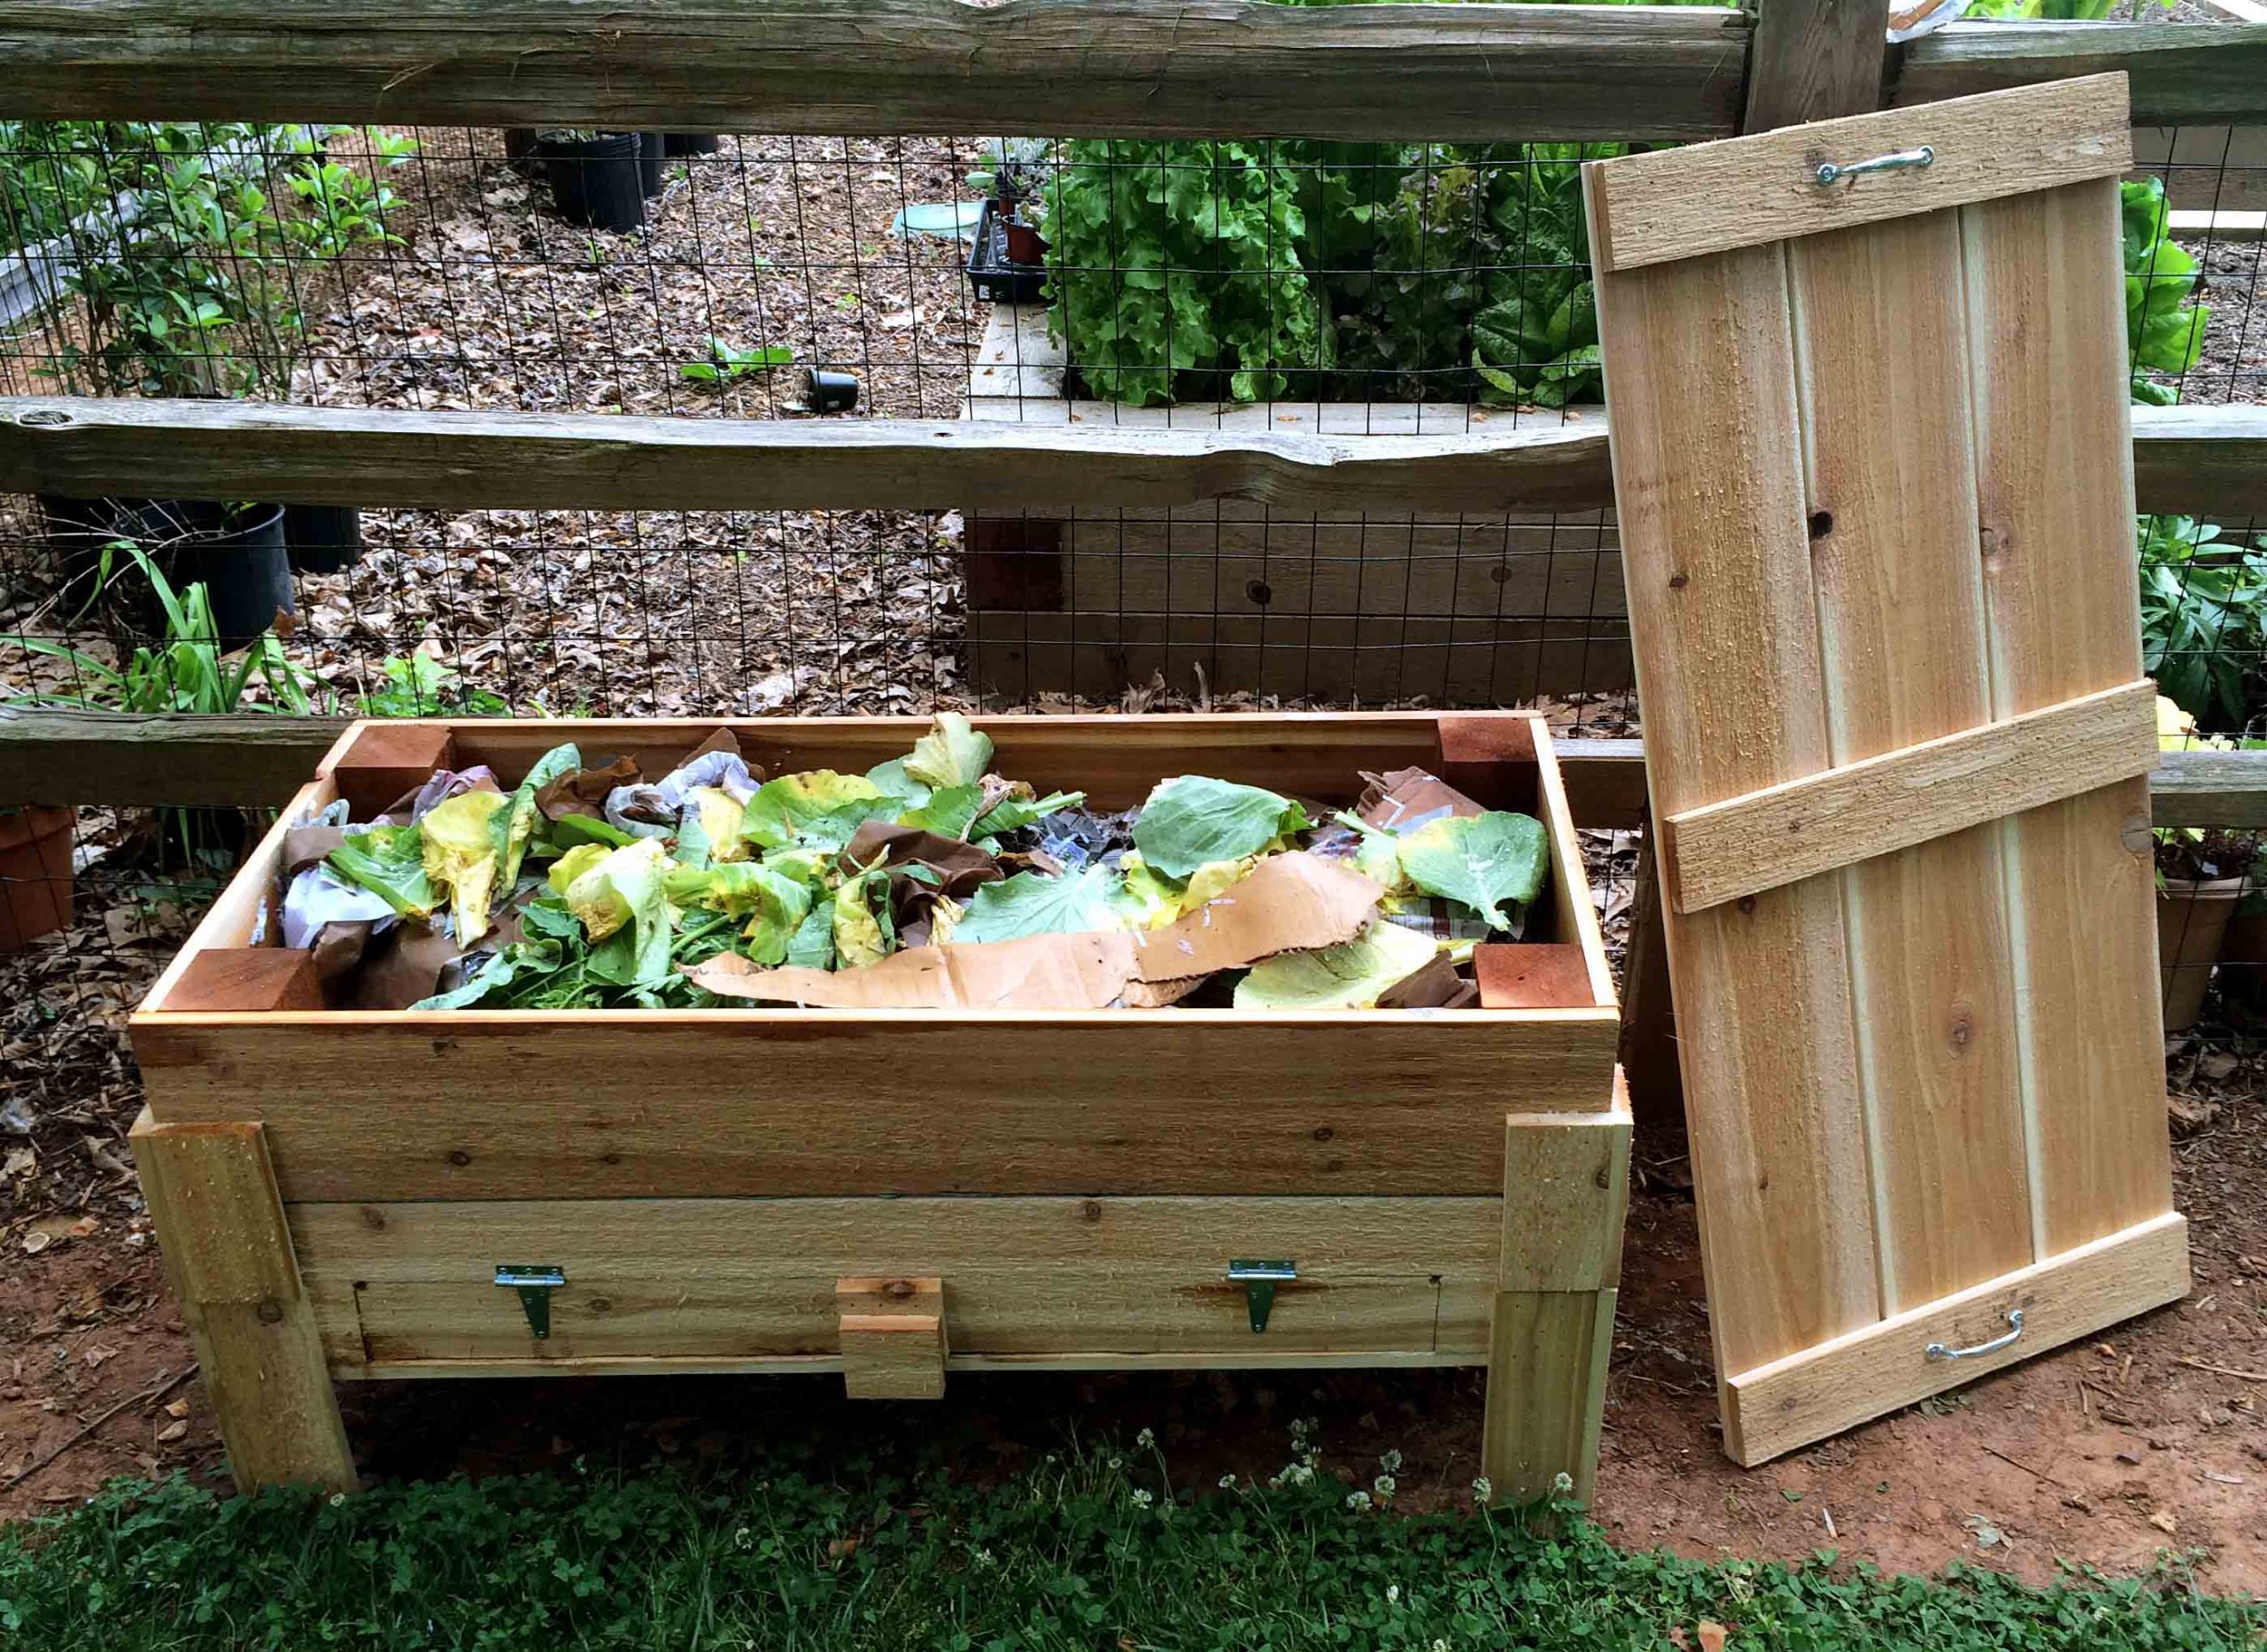
In this guide on creating a DIY worm bin for vermicomposting, Joe emphasizes the incredible benefits of worm castings for garden soil (but if you’re on this site, you already know that ;-0).
The tutorial covers the various steps involved in constructing the worm bin, highlighting key points to ensure its effectiveness.
The construction process is detailed, utilizing cedar or redwood for the bin to withstand outdoor conditions. The use of non-toxic materials is stressed, advising against pressure-treated lumber due to potential harm to the worms and soil. The tutorial offers flexibility in size, suggesting options for those with limited space, including using pallet wood for a sustainable approach.
Watch the assembly of the worm bin, using basic lumber such as four by fours, one by eights, and one by fours. The design features stackable and interchangeable boxes, allowing for a continuous vermicomposting process. The use of wire mesh as the floor in two boxes facilitates worm movement and compost collection.
Practical considerations, such as placing the bin in a shaded location to prevent overheating for the worms, are emphasized. Joe also provides insight into the convenience of having the bin near a compost pile for easy access to organic materials.
The tutorial concludes with a demonstration of feeding the worms with kitchen scraps, shredded paper, and other compostable materials. The importance of maintaining the right conditions, such as moisture and darkness, for the worms is also highlighted.
Finally see the impressive results of eight weeks of vermicomposting, with nutrient-rich worm castings ready for use in the garden. Check it out below…


