Dahlberg Audio
Design.
"The
tall neodymium ribbon". Part 2 |
|
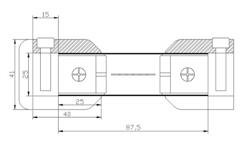
Now we are down to woodworking. The drawing on your right shows one of my
latest constructions in profile. The shaded area is detachable and in this
version also mounted to the magnetic circuit (those bolts are not in the
drawing). The black lines show speaker-fabric. You will need it, strangely
enough not even grownups can keep there fingers to themselves. There are
two measurements that say 25mm and that makes it easy for the construction
of a gluing, and routing jig. Just use a one inch square steel
pipe of sufficient length.
The steel pipe has to be cleaned and
painted to prevent it from discoloring the wood during gluing.
Apart from what's showing in the drawing
some connecting parts will be made. For starters some blocks 87x25x15mm
preferably from the same wood. 25
and 15 is not absolutely crucial. Some covers over and under the opening
to finalize it. Here you can use almost anything just as long as it isn't
magnetic. |
|
|
The finished result as a drawing. |
|
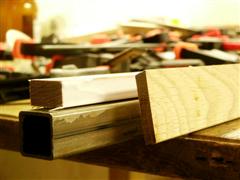
We
are starting of with some "U-profiles", these ones are made from
oak.
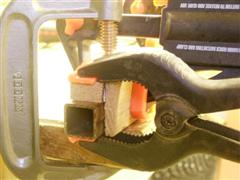
Use appropriate amounts of regular white wood glue. Don't leave
it for to long or else the glue may stick to the steel pipe. 30 minutes is
sufficient.
|
 |
 |
|
"U-profiles" |
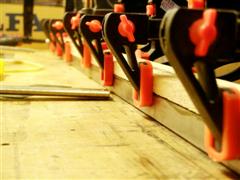
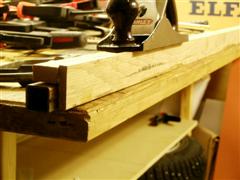
You
will need some tools... |
 |
 |
|
These ones work so-so but they are fast |
You
can take a little of before routing. |
|
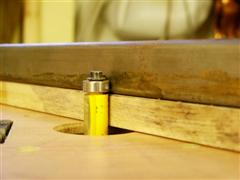
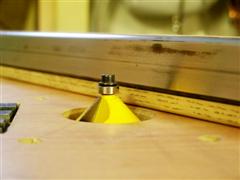
When that's done it's time for routing and that will be done
with the pipe as a guide. Some hand tools may also come in handy. The
pictures should be helpful enough when describing how to do this. Simulate
the routing before you start the machines and please be careful about your
fingers.
|
 |
 |
| Copy routing. |
Angled routing. Make sure that you measure carefully. |
 |
|
|
Ok. |
|
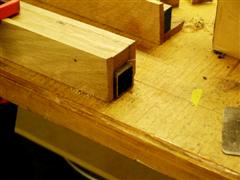
The last part of the "U-profile" will not be glued.
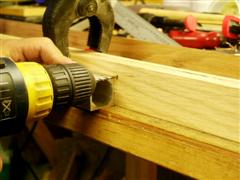
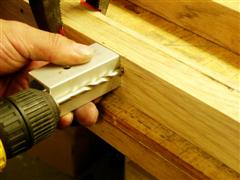
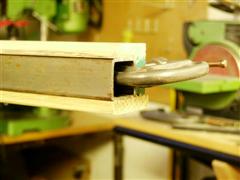
Instead it's attached with screws. To get the right drilling depth I'm using a little helper,
look at the pictures. When that's done you just finish of the routing.
Same procedure as last with the steel pipe in place. |
 |
 |
| Some marking. |
Drill with depth limitation. Barely through the first layer
but no more. |
 |
 |
|
Ok,
now it's time to turn the parts into a left end right side tweeter/driver. On the
outside you are supposed to glue an additional 8mm strip of oak. Due to
the fact that the drivers are supposed to be a mirror imaged pair it's
quite important to keep track of how you are putting it all together. Lay
them side buy side, it helps.
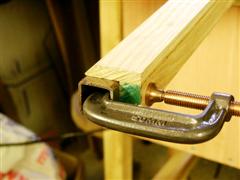
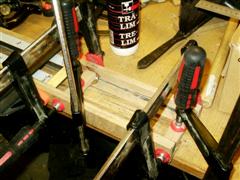
Gluing is done without the detachable part of the
u-profile. At this point you will have to use the clamps again, you
can not get to many of these. Just keep it up as earlier, appropriate
amounts of glue and look closely at the pictures about how too set the
clamps. Access glue is easily removed later with a sharp knife.
The
angled routing is not done on this profile yet but is still possible.
after the next moment it's not so take care of this now. Just as earlier
with the steel pipe and so on. Now it's time to glue the wooden blocks that are
holding the two halves together. |
 |
 |
|
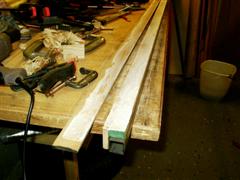
Widening of a U-profile. |
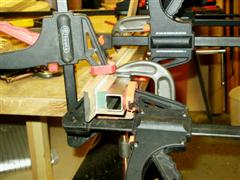
Set a few clamps to eliminate the risk of sideways
slipping as well. |
 |
 |
|
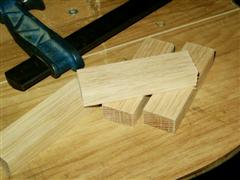
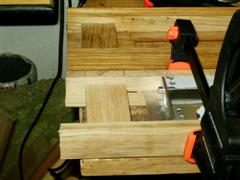
The blocks are made from what's left of earlier bits and pieces.
88x15x26mm will work just fine. Let the magnetic circuit lay in place
during assembly, that way you are sure that it will fit later on. Once
again, keep track of what's left/right and up/down. |
|
Blocks,
88x26x15mm. Just the 88mm's that are important. |
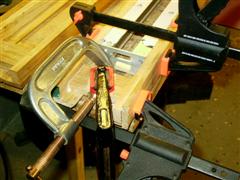
The u-profiles are glued together, keep track of left/right
and up/down. |
 |
 |